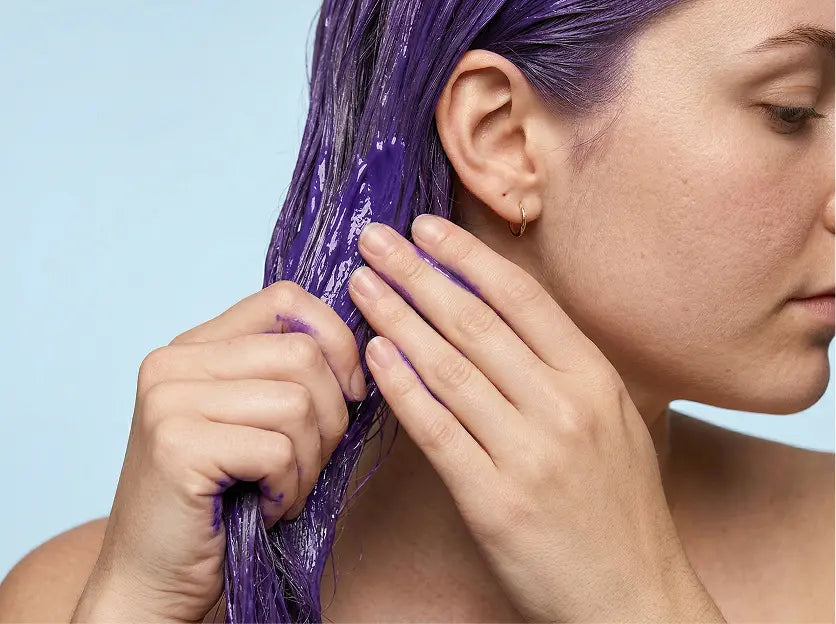
Rainbow hair can be bold, soft, hidden, full-spectrum, or just one bright piece that feels like you.
For Pride Month, that might mean a visible rainbow panel, pastel ends, a hidden underlayer, or a few colors that feel personal rather than literal. There is no single correct way to wear Pride-inspired color. The better question is practical: what kind of look can you plan, apply, and maintain at home?
Multi-color hair looks best when the placement is intentional. When you are working at home with semi-permanent color, your biggest questions are simple: where should each color go, how much dye do you need, and how do you keep everything from turning into one muddy shade?
Here is a practical way to plan rainbow or multi-color hair at home for Pride Month, whether you want a full-spectrum look or something quieter.
Start With the Look, Not the Dye
Before you mix anything, choose the color placement. Multi-color hair is easier when you decide the shape first.
Good at-home options include:
- Face-framing pieces: Two bright sections around the face. This is high impact and easier to control than full-head color.
- Peekaboo color: Hidden panels under the top layer of hair. Great if you want color that appears when your hair moves.
- Dip-dyed ends: Color only through the lower lengths. This is one of the simplest ways to try multiple shades.
- Split ends or split fringe: Two colors on opposite sides, or one color on each side of the bangs.
- Rainbow panels: Several narrow sections placed side by side.
If you are planning Pride hair, you do not need to copy the full rainbow to make the look meaningful. A pastel rainbow through the ends, a hidden six-color panel, or a few colors that reflect your own palette can feel more wearable and more personal.
If you do want a full rainbow, decide whether the colors will sit side by side, appear only underneath the top layer, or run through the ends. That decision affects everything else: how many bowls you need, how small your sections should be, and how carefully you need to separate each shade.
Know What Your Starting Hair Color Can Do
Semi-permanent hair color deposits color. It does not lighten hair.
That matters a lot for rainbow, pastel, and neon looks. Bright shades show best on light blonde, blonde, dark blonde, or light brown hair, depending on the depth of the shade. If your hair is darker than light brown, especially dark brown or black, vivid colors may look very subtle, muted, or visible mainly as a tint in strong light unless the hair is pre-lightened first.
This does not mean dark hair cannot be part of a multi-color look. It just means you should plan the effect differently. Instead of expecting icy blue or bright yellow to show clearly on a dark base, you might choose richer red, berry, plum, deep teal, or other deeper tones. You can also color only pre-lightened pieces, highlights, ends, or extensions if you want clearer contrast.
When the final result matters, do a strand test first. It is the easiest way to see how a shade will actually read on your hair before committing to a larger section.
Build a Simple Color Map
Multi-color hair gets easier when you make a color map. It can be as simple as a phone note:
- Left face frame: red
- Right face frame: blue
- Underlayer: yellow, green, blue, purple
- Ends: alternate pink, orange, and yellow
You can also sketch your head shape from the front and back. Mark each section with a color name. This sounds basic, but it prevents the most common at-home problem: realizing halfway through that two colors are touching in a place you did not plan.
For rainbow hair, place colors in an order that makes sense when they meet. Red beside orange, yellow beside green, and blue beside purple will usually blend more softly than yellow beside purple or red beside green. If you are using high-contrast colors, give them a little space unless you want a deliberate blended edge.
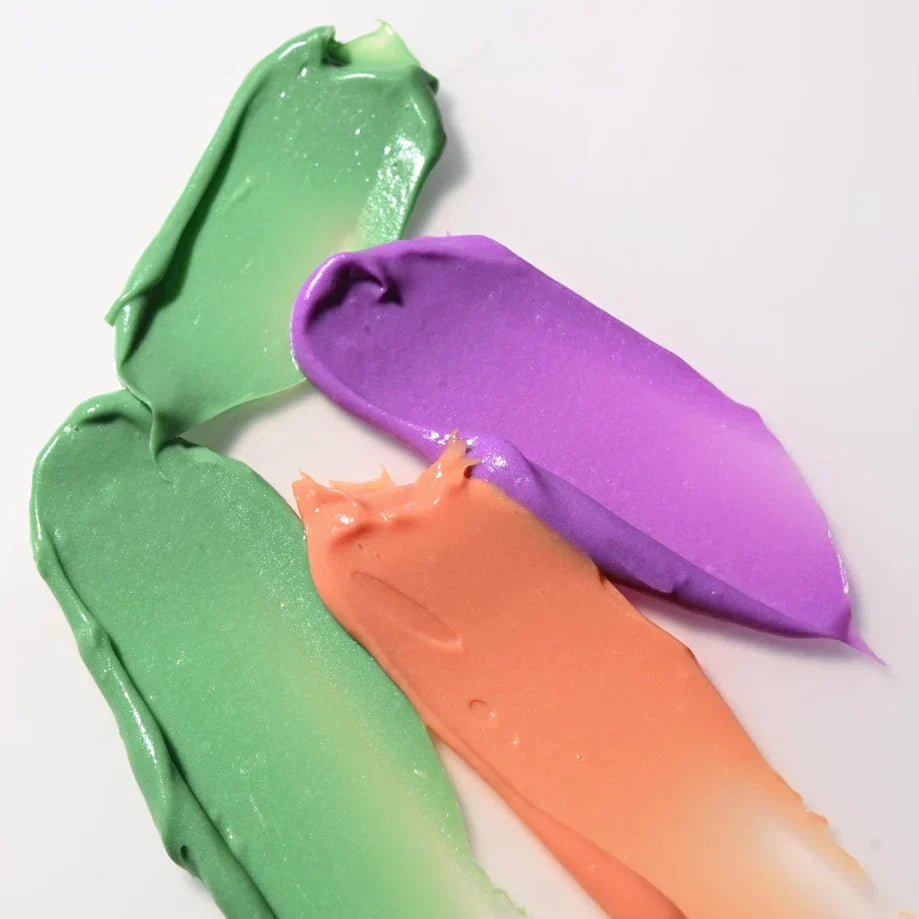
Set Up One Bowl Per Shade
The cleanest rule for multi-color hair at home is simple: prepare each shade in its own bowl.
Do not put several shades into one bowl unless your goal is to create a new mixed color. Keeping formulas separate helps prevent cross-mixing and gives you more control as you apply. Use separate brushes when possible, or rinse and wipe your brush thoroughly between shades.
Your setup should include:
- Gloves
- Clips
- A towel you do not mind staining
- One bowl per color
- One brush per color, if available
- Petroleum jelly or barrier cream around the hairline
- Foil, plastic wrap, or small strips of wrap to separate sections
- Paper towels for quick cleanup
The more colors you use, the more important setup becomes. Four minutes of organization can save you from thirty minutes of trying to fix accidental blending.
Section Smaller Than You Think
Big sections are tempting, but smaller sections give better control.
For face-framing pieces, section cleanly from the part line down to the front hairline. Clip the rest of the hair away before you apply color. For peekaboo panels, lift the top layer and clip it up so only the lower section is exposed. For rainbow panels, create narrow vertical or diagonal slices and apply one color at a time.
Keep the color placement deliberate:
- Apply from the top of the section down when you want a strong panel.
- Apply only through the mid-lengths and ends for a softer, lower-commitment look.
- Leave a little uncolored space between shades if you are worried about bleeding.
- Use foil or wrap between sections when colors sit next to each other.
For a hidden rainbow, make sure the top layer is clipped fully out of the way before you begin. For visible panels, check the placement in a mirror before applying color so the sections frame your face the way you expect.
Apply Lightly at the Borders
The border between two colors is where most mistakes happen.
If you want the colors to stay distinct, avoid over-saturating the edge where they meet. Apply each color through the center of its section first, then carefully work toward the border. You can leave a tiny gap between colors or use wrap to keep sections from touching.
If you want a soft transition, use your fingers or a clean brush to tap the edge lightly where two shades meet. Do this only with colors that will blend well together. Pink into orange, blue into teal, and purple into pink can look intentional. Green into red or yellow into purple can quickly go muddy.
Rinse With Patience
Rinsing multi-color hair takes patience. The goal is to remove excess dye without letting one shade run heavily through another.
Use cool water and rinse sections carefully. If you have several high-contrast colors, rinse the lightest or most delicate sections separately first when possible. Keep the hair flowing in the direction of the color placement instead of scrubbing everything together.
After rinsing, avoid hot water and heavy cleansing for the first washes. Semi-permanent color fades over time, and vivid or lighter shades usually fade faster than deeper shades. Washing less often, using cooler water, and choosing color-safe products can help the look last longer.
How ColorBox Helps With Multi-Color Hair
The frustrating part of multi-color hair is not always the application. It is the shopping.
A rainbow look can make you feel like you need to buy a full bottle of every shade, even if you only need a small amount of yellow for one panel, a little blue for the ends, or two red streaks around the face. That can leave you with a drawer full of partly used dye that may not match your next idea.
ColorBox is designed for a different way of creating semi-permanent color at home. Instead of buying many separate bottles for one look, you can create shades from the ColorBox system and dispense the amount you need into a bowl. For a multi-color style, prepare each shade separately, one bowl at a time, then apply manually to your planned sections.
That makes ColorBox especially useful for:
- Rainbow hair with several small color sections
- Pride looks where each shade may need a different amount
- Hidden rainbow panels where one color may use much less dye than another
- Soft pastel color accents instead of a full bottle for each shade
- Touch-ups when only one section needs refreshing
The practical benefit is control. You can create custom color at home, make smaller amounts for smaller sections, and reduce the leftover dye that often comes from buying several full-size bottles for one event look.
ColorBox also saves your color history, so if you love a certain blue, berry, green, or pastel combination, you can return to that formula later instead of starting from memory.
Multi-Color Ideas to Try at Home
If you want a Pride-inspired look:
- Hidden rainbow: Place several colors underneath the top layer of hair.
- Rainbow fringe: Use small pieces through the bangs or face frame.
- Pastel ends: Use softer versions of rainbow shades through the lower lengths.
- Personal palette: Choose colors that feel connected to your own expression rather than copying a full rainbow.
- Soft spectrum: Use muted versions of several colors for a less graphic look.
- Bright accents: Choose two or three rainbow shades instead of using every color at once.
Before You Start
Multi-color hair is fun because it is expressive, but it still deserves a careful setup.
Before coloring, confirm that your hair is in good condition, read the product instructions, and do a strand test if possible. Wear gloves, protect your space, and keep each shade separate until it is time to apply.
The best at-home multi-color looks are not the ones with the most colors. They are the ones with a plan: a clear palette, clean sections, enough separation, and the right expectations for your starting hair color.
For Pride Month, start with the look you want to wear. Then create only the dye you need for it.
Create your rainbow shade with ColorBox
Photo credit: Pexels, Anna Shvets.